
Ca Scene
БесплатноНе проверенEnables prompt-driven scene generation for computer animation using a JSON-serializable scene model and physics simulation backend.

Описание
Enables prompt-driven scene generation for computer animation using a JSON-serializable scene model and physics simulation backend.
README
Overview
This repository contains the code for the computer animation exercise. The code uses Newton@2a6df66 as a backend for the physics simulation.
Agent scene framework
The repository also contains a prompt-driven framework for generating animations:
ca_framework.scenedefines a backend-neutral, JSON-serializable scene model for rigid bodies, cloth, fluids, constraints, and external fields.ca_framework.mcpprovides protocol-independent scene editing tools.mcp_serverexposes those tools through the official Python MCP SDK as a standalone stdio or Streamable HTTP server.knowledge/skillscontains focused simulation knowledge that an agent can load when translating a prompt into a scene.
The runtime and agent-facing files intentionally contain no reference scenes or
reference answers. The twelve canonical acceptance cases, their assertions, and
benchmark commands live under evaluation/; do not expose that directory to an
agent during a prompt-to-video experiment.
Start the stdio MCP server from the repository root:
uv run --project mcp_server ca-scene-mcp
Scene files are stored in .ca-scenes by default. Set CA_SCENE_WORKSPACE to use another directory. SceneExecutorLocal compiles rigid bodies and cloth to Newton XPBD/VBD, advances smoke and APIC/FLIP fluid routes, caches every simulated frame, and renders an output bundle. Final jobs use run_scene(scene_name, output_dir) and write animation.mp4, scene.json, program.py, metrics.json, diagnostics.jsonl, and cache/.
Development tests remain under tests/. Evaluation assets and instructions are
documented separately in evaluation/README.md.
Numerical optimization
Scene optimization is a separate, reproducible workflow: an
OptimizationPlan defines bounded physical parameters, an optional TaskSpec
defines scene-specific losses, and Optuna proposes Random, TPE, or CMA-ES
trials. Every trial passes through static validation, a short coarse rejection
run, a full-resolution metric run, and optional finalist rendering. Optimization
history is never stored in Scene.metadata.
The MCP server exposes the complete lifecycle through
create_optimization_plan, validate_optimization_plan,
start_optimization, get_optimization_job, list_optimization_trials,
get_optimization_trial, compare_optimization_trials, and
apply_optimization_trial. A stored plan has three independent inputs:
.ca-scenes/.optimizations/plans/<name>/
├── scene.json
├── optimization_plan.json
└── task_spec.json          # optional
Trial directories contain the applied scene and parameters, constraint-first
metrics, diagnostics, structured telemetry, and the final report. The report
selects the best feasible, fastest acceptable, and most robust candidates and
writes best_so_far.svg without requiring a plotting dependency.
Installation
Install Git and uv on your system. On Windows, uv can be simply installed by running the following command in PowerShell:
powershell -ExecutionPolicy ByPass -c "irm https://astral.sh/uv/install.ps1 | iex"Clone this repository:
git clone http://dalab.se.sjtu.edu.cn/gitlab/courses/ca-framework-2026.gitInstall dependencies:
uv sync --extra examplesUse any IDE (PyCharm is recommended) of your choice to open the project and run the script in
examples/ca_exercises/directory. PyCharm will automatically recognize the virtual environments, if not, you can activate in the terminal using the command below:./.venv/Scripts/activateThen run the python script in the terminal:
python ./newton/examples/ca_exercises/exercise2_xxx_xxx.pyIf everything's alright, you will see a window like below:
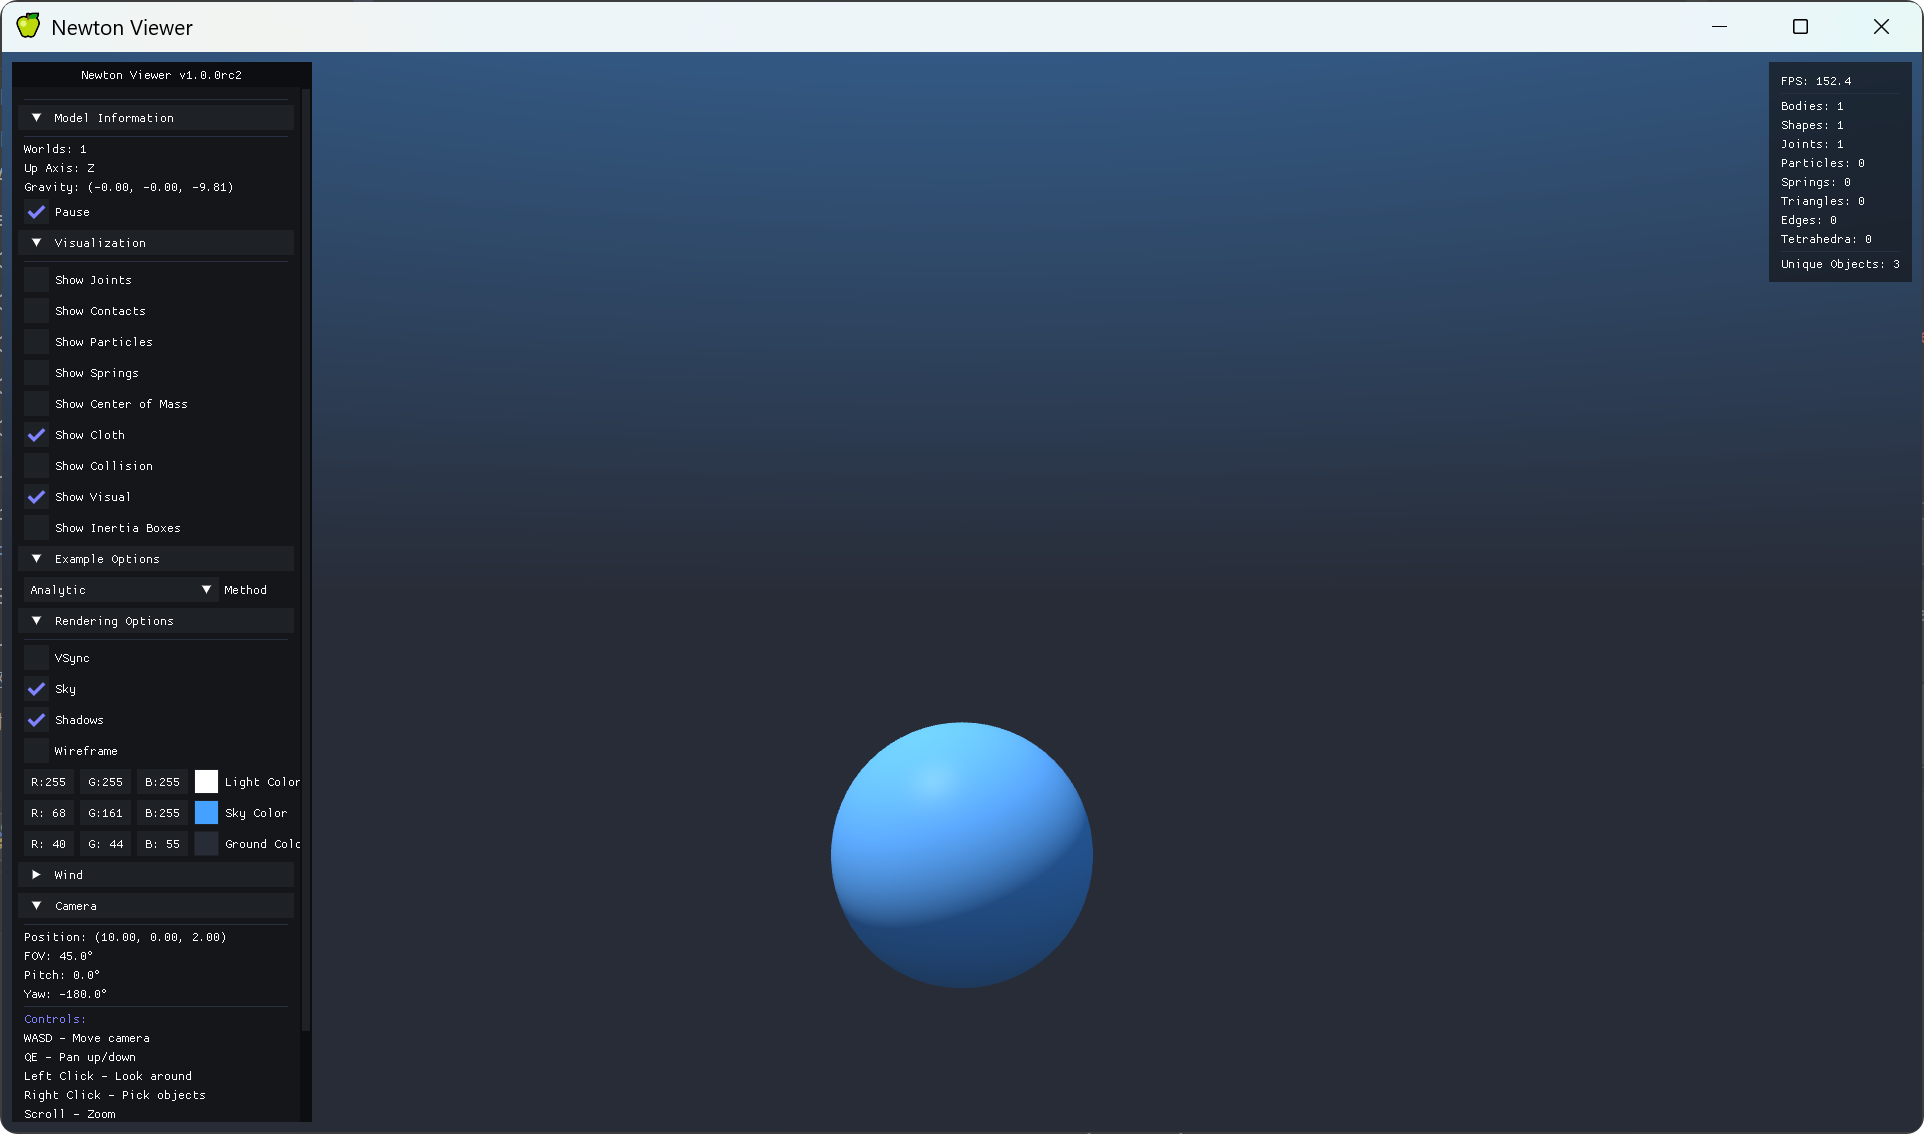 Controls:
- WASD: move camera
- QE: move camera up/down
- Left click: lock around
Handin
You only need to modify the TODO sections in the code. You can run the code to test your implementation, but please do not modify the code structure or add any new files.
After you finish one exercise, You only need to submit the modified .py files in newton/_src/solvers/ca_exercises/. Please compress these files into a zip file and submit it to Canvas. The file name should be in the format of ca_exercise<n>_<student_id>.zip.
Notes: each exercise may have its own additional requirements, please pay attention.
Установить Ca Scene в Claude Desktop, Claude Code, Cursor
unyly install ca-scene-mcpСтавит в Claude Desktop, Claude Code, Cursor и VS Code — сам разбирается с npx, uvx и сборкой из исходников.
Впервые? Поставь CLI: curl -fsSL https://unyly.org/install | sh
Или настроить вручную
Выполни в терминале:
claude mcp add ca-scene-mcp -- uvx newtonFAQ
Ca Scene MCP бесплатный?
Да, Ca Scene MCP бесплатный — установка в пару кликов через Unyly без оплаты.
Нужен ли API-ключ для Ca Scene?
Нет, Ca Scene работает без API-ключей и переменных окружения.
Ca Scene — hosted или self-hosted?
Self-hosted: сервер запускается локально на твоей машине командой из раздела установки.
Как установить Ca Scene в Claude Desktop, Claude Code или Cursor?
Открой Ca Scene на unyly.org, выбери вкладку своего клиента (Claude Desktop, Claude Code, Cursor) и нажми Install — конфиг сгенерируется автоматически, без правки JSON.
Похожие MCP
GitHub
PRs, issues, code search, CI status
 автор: GitHub
Filesystem
Secure file operations with configurable access controls.
Memory
Knowledge graph-based persistent memory system.
Template MCP Server
A CLI tool to create a new Model Context Protocol server project with TypeScript support, dual transport options, and an extensible structure
 автор: mcpdotdirect
Compare Ca Scene with
Не уверен что выбрать?
Найди свой стек за 60 секунд
Автор?
Embed-бейдж для README
Похожее
Все в категории development